Heisenberg WINE: Red, White & Blush
My first experience as a neophyte vintner was in 1995 in Hanover, PA. A coworker named Kevin kept trying to talk me into making home brew wine. At the time I wasn’t much of a wino and had little interest in wine or making it but I am interested in self sufficiency. Learning this skill couldn’t hurt.
Kevin brought over a 6 gallon glass carboy one day after telling me that he would be stopping by my house after work. He also told me to grab a 10lb bag of apples and a large box of green raisins and a large quantity of sugar. I’m a drinker so I thought what the hell…

Carboys are expensive, hard to clean and are fragile (Pocono, PA)
Feeling the pressure of doing something that I wasn’t really into but realizing that it would be a good time to get to know one of the fellas I was working with, I surrendered. At this point, I hadn’t considered how good the resulting wine would be to drink and have on-hand. I was in the middle of a house reconstruction that was absorbing all of my time. It turns out that making wine requires little time. Actually, it requires time to do its own thing but very little of yours.

Blinded by the wine…
The result was outstanding (for a non wine drinker and worth mentioning), 21 days later delivered a killer sweet white apple grape wine that I couldn’t get enough of. I credit Kevin for turning me into a wino, er- um… vintner that I am today. I have also learned how to make killer vinegar from my wines which is really something considering I also enjoy the culinary arts. Learn how to make vinegar from your wine HERE
Fast forward 15 or so years, I sold that place and another house and all of the wine supplies that I had accumulated in Manheim, PA. My wine making started to get out of hand. I had a 55 gallon Food Grade Barrel in the basement that kept calling my name in addition to 1000 bottles from the local winery and visitors that began to squat at my place. I was on my way to producing industrial level quantities on the side and had the opportunity to purchase the stock (wine supplies) from a friends store in State College that wanted out of the beer and wine brewing business. I had a setup that had consumed half of my basement.

Chris Rudio and author
Since then I have married Tracey, a wonderful wife but not a wine drinker. The thought of introducing her to everything wine has rekindled the desire that I had done such a great job of keeping out of my mind. It really made me think about all the great people I have met and shared wine making with. It seems appropriate to share it with her to see what she might get out of it as well.
A trip to the local Lowe’s for a couple food grade buckets and lids, to the local grocery for some sugar and an online order for a few necessary supplies and we were in business.
My plan was to make 5 gallons of a red wine and 5 more of a sweet white. Wine drinkers will tell you that they started off with sweet whites then on to blushes before graduating into dry red wine. The plan was to make something that Tracey would enjoy while satisfying my need for the dry red stuff. I figured that I would make something from both ends of the spectrum and blend the two in a smaller quantity for a happy medium.

HDPE is more rigid than LDPE
A couple of days ago the yeast, hydrometer and air locks arrived on our doorstep. I immediately got to cleaning everything before preparing the must. If you are interested in a proven recipe of wine goodness, read on. The rest of the page will be devoted to this (a simple winemaking brew that you can do with little knowledge, cost and effort) particular vintage of vino that can be altered to produce a great wine. The instructions may seem daunting at first glance but it is actually really simple to make 5 gallons of wine after the first time. After your initial investment of $60, you can make 5 gallons of vino Monthly for under $40 keeping Uncle Sam out of your pocket and avoiding trips to the Packaged Liquor Store because you will always have wine on hand. I suggest reading them through before starting to get a decent picture of what is required.
What you will need:

Any Hydrometer will work
Food Grade (to be safe always use food grade fermenting vessels and equipment) buckets. Most containers are food grade but you may not know what was stored in it before it fell into your posession. HDPE (non barrier) Plastic buckets work great because they don’t contain BPA and the oxygen ingress is limited due to the inherent characteristics of the plastic. You can pick up buckets and lids at the local hardware store for $5. Use glass and plastic to keep everything clean and contaminate free. Cleanliness is key, always clean everything with hot soap and water before it gets near your wine.
The list of items below can be purchased at your local hardware store for under $20
HDPE buckets (2) 5 gallon
HDPE Lids (2)
8′ of clear vinyl hose
Rubber Grommet (3\8″ ID 5\8″ OD) (1)
Online Supplies (Cost < $10) : excluding the juice or concentrate
Thermometer (floating for liquids preferably)
You could start with a higher SG and use Red Star to make rocket fuel
Hydrometer (1) – get a cheap one.
Small bottle of Potassium Metabisulfite (1).
Wine concentrate (enough for 5 gallons) (I bought Cabernet Sauvignon at homewinery.com)
OR
Enough can’s of frozen Fruit juice concentrate from the local grocery – enough to make 5 gals of juice (usually 10-13 cans) – Make sure there are no “sulfites” or preservatives in the ingredients label.
Local Grocery List:
6- 8 lbs of Sugar _ a VERY rough rule of thumb ( not considering the sugar content of the juice that you start with is : 6 lbs is dry, 7 is medium and 8lbs is sweet wine. This shouldn’t be used unless you are lacking a hydrometer.

- Drill a hole in the top of one (1) bucket lid then insert the grommet. This is the

Note the rag wrapped around the airlock in background- a trick to avoid a geyser if bubbling too much.
hole that you will insert your Air Lock into that will keep your “Must” clean and air tight. Use a 5/8″ drill bit. The airlocks are standard 3\8″ OD.
- Clean all of your supplies with soap and water.
- Pour the Juice (or wine concentrate) into one (1) of the buckets and fill to 75% of the container with water that is roughly 100 Degrees F

- Add Potassium Sulfite as directed on its packaging
- Add 5 lbs of sugar and stir until it is all suspended in your juice (this is now called the “must” which is unfermented wine). Top off with more water until you have an inch or 2″ space left at the top of your bucket.
- Take a reading with your hydrometer. I am not going to go into the specifics of why or whatever just set (don’t drop because it might dive into the bottom of your bucket and break – I have done this before) the glass tube into your must and give it a little spin. Use the scale in units (this is the Specific Gravity scale or SG from here on out) that look like .90, 1.00, 1.10 etc.
- Keep adding sugar (stir) until you reach 1.101 SG (@ 100 F) – this is the target for dry complete wines with Lavolin or Montrechet yeast @ 12%. @ 60 degrees F (most likely what your hydrometer is calibrated to – the Target is 1.095 SG) You can use this simple scale to adjust the sugar \ SG of your must depending on what temp your must it is at now. Look at your hydrometer , it will tell you if it is calibrated for 60 or 68F
- Open a packet of yeast and sprinkle it on your must (if at 100F – if the temp is below

Airlocks are standard 3\8″ OD at the base
100F, add the yeast to warm tap water in a small clean container like a cup with a teaspoon of sugar dissolved and measure the temp – add the yeast between 100- 110 F, give it a stir then dump it in your must). This is called “Pitching the must”
- Put the lid on your must bucket. This is now your “primary fermenter”

- Put the other un-drilled lid onto the empty bucket after filling it with your wine making accoutrements. This will keep it all clean as well as the bucket that you will use for the next and final step.
- Prop open the lid with something that won’t contaminate or fall into the must leaving a 1″ or greater crack in the lid for the first 3 days of fermentation.
- after 3 – 4 days, stick the airlock into the grommet hole then add water and a pinch of Sodium Metabisulfite to the airlock) – most airlocks have a water level indicator molded into the side- a “Fill to Here” , (Ref. airlock image) and close the lid tight.
This is the must that I just started 24 hours ago. You can see the bubbles and the must churning. We went with the Cab Sav from homewinery.com and frozen fruit juice that wasn’t white as you can see in the video of the blush beside the dark red Cabernet (the store didn’t have a preservative \ sulfite free white juice).
Within 24 hours (usually within a few hours) you will begin to see the airlock bubble. The frequency of bubbles will increase over the next few days depending on what temperature you have the must stored. Typically wine ferments the best around 72F and will slow down below 70F temperature. It isn’t a big deal as long as it doesn’t get too cold. Above 70F it will go like gangbusters.

Pick up a grommet at any local hardware store
Wine usually will take anywhere from 21 – 30 days to completely ferment (aerobic and anaerobic fermentation) with this technique to complete fermentation, with lighter colored wines fermenting quicker than darker. Once you notice that the airlock has slowed to almost non-existant bubbling, remove the lid and take a reading with your hydrometer. The SG scale is based on water. 1.00 is plain water at 60 F. Alcohol is lighter than water so your reading should be below 1.00 – somewhere like .90. If it isn’t put the lid back on and let it go until it is.

Clear hose is easy to verify cleanliness
- Take the 8′ clear vinyl tube and siphon (this procedure is called “racking”) your wine into the other empty bucket taking care not to suck up any of the sludge in the bottom of the bucket. The sludge is the dead yeast that you don’t want to drink. It tastes like hell, trust me. It is easier to siphon the wine by placing the filled “primary fermenter” on a countertop then suck on the hose to get the siphon started into the “racking” bucket placed below it on the floor. I know you are wondering if you can try the wine at this point. The answer is HELL YEAH!
- You should now have a “New Wine” that is ready to drink. The new wine is probably a little cloudy and will take time for the stuff that is suspended in it to settle out completely. It won’t hurt you but isn’t appealing as a clarified wine. If it is cold outside (near freezing) you can just sit your racked wine outside for a day which should clear it right up but will require another “rack’ to eliminate the sediment that falls out of the wine. Aged wine is always better but is hard to keep around to get old enough to appreciate. Here is a gadget that claims to turn “new Wine” into aged wine within minutes.
- If you can drink your wine within a month, just have at it. If you can’t or want to bottle all or some, add some Potassium Sorbate (follow the instruction printed on your bottle). This will keep your wine from fermenting again if there is any sugar left in it OR if you want to sweeten the vino to keep it from blowing corks off bottles because the yeast would have more sugar to eat.

Typically packaged in a bottle or bag

If you want to sweeten your wine (After adding Potassium Sorbate and another dose of Sodium Metabisulfite (to prevent refermentation) just add sugar until you reach these readings: (with your hydrometer)
I. DRY WINES – Wines that have virtually no residual sugar (less than 0.5%). Specific gravity is < 1.000. Wines entered in this category have complete fermentation (not stopped by intervention of the winemaker) and have not been back-sweetened.
II. OFF-DRY WINES – Used to accompany a meal main course or drink by themselves. These wines are not completely dry (i.e., may be back sweetened or may have early termination of fermentation), but are too dry for a Social Wine. They have up to 1% residual sugar and less than 14% alcohol. Specific gravity is 1.000 to 1.010.
III. SOCIAL WINES – Primarily enjoyed in the evening or afternoon with snacks, but may be used with meals or any time. They typically have 1% to 4.0% unfermented sugar with less than 14% alcohol. These are commonly known as “semi-dry” or “semi-sweet” wines. Specific gravity is 1.010 to 1.025.
IV. DESSERT WINES – Full bodied, very sweet wines that are normally served at the end of a meal or with desserts or snacks. These wines contain more than 4.0% sugar and may contain over 14% alcohol. These are commonly referred to as “sweet” wines. Specific gravity is > 1.025.
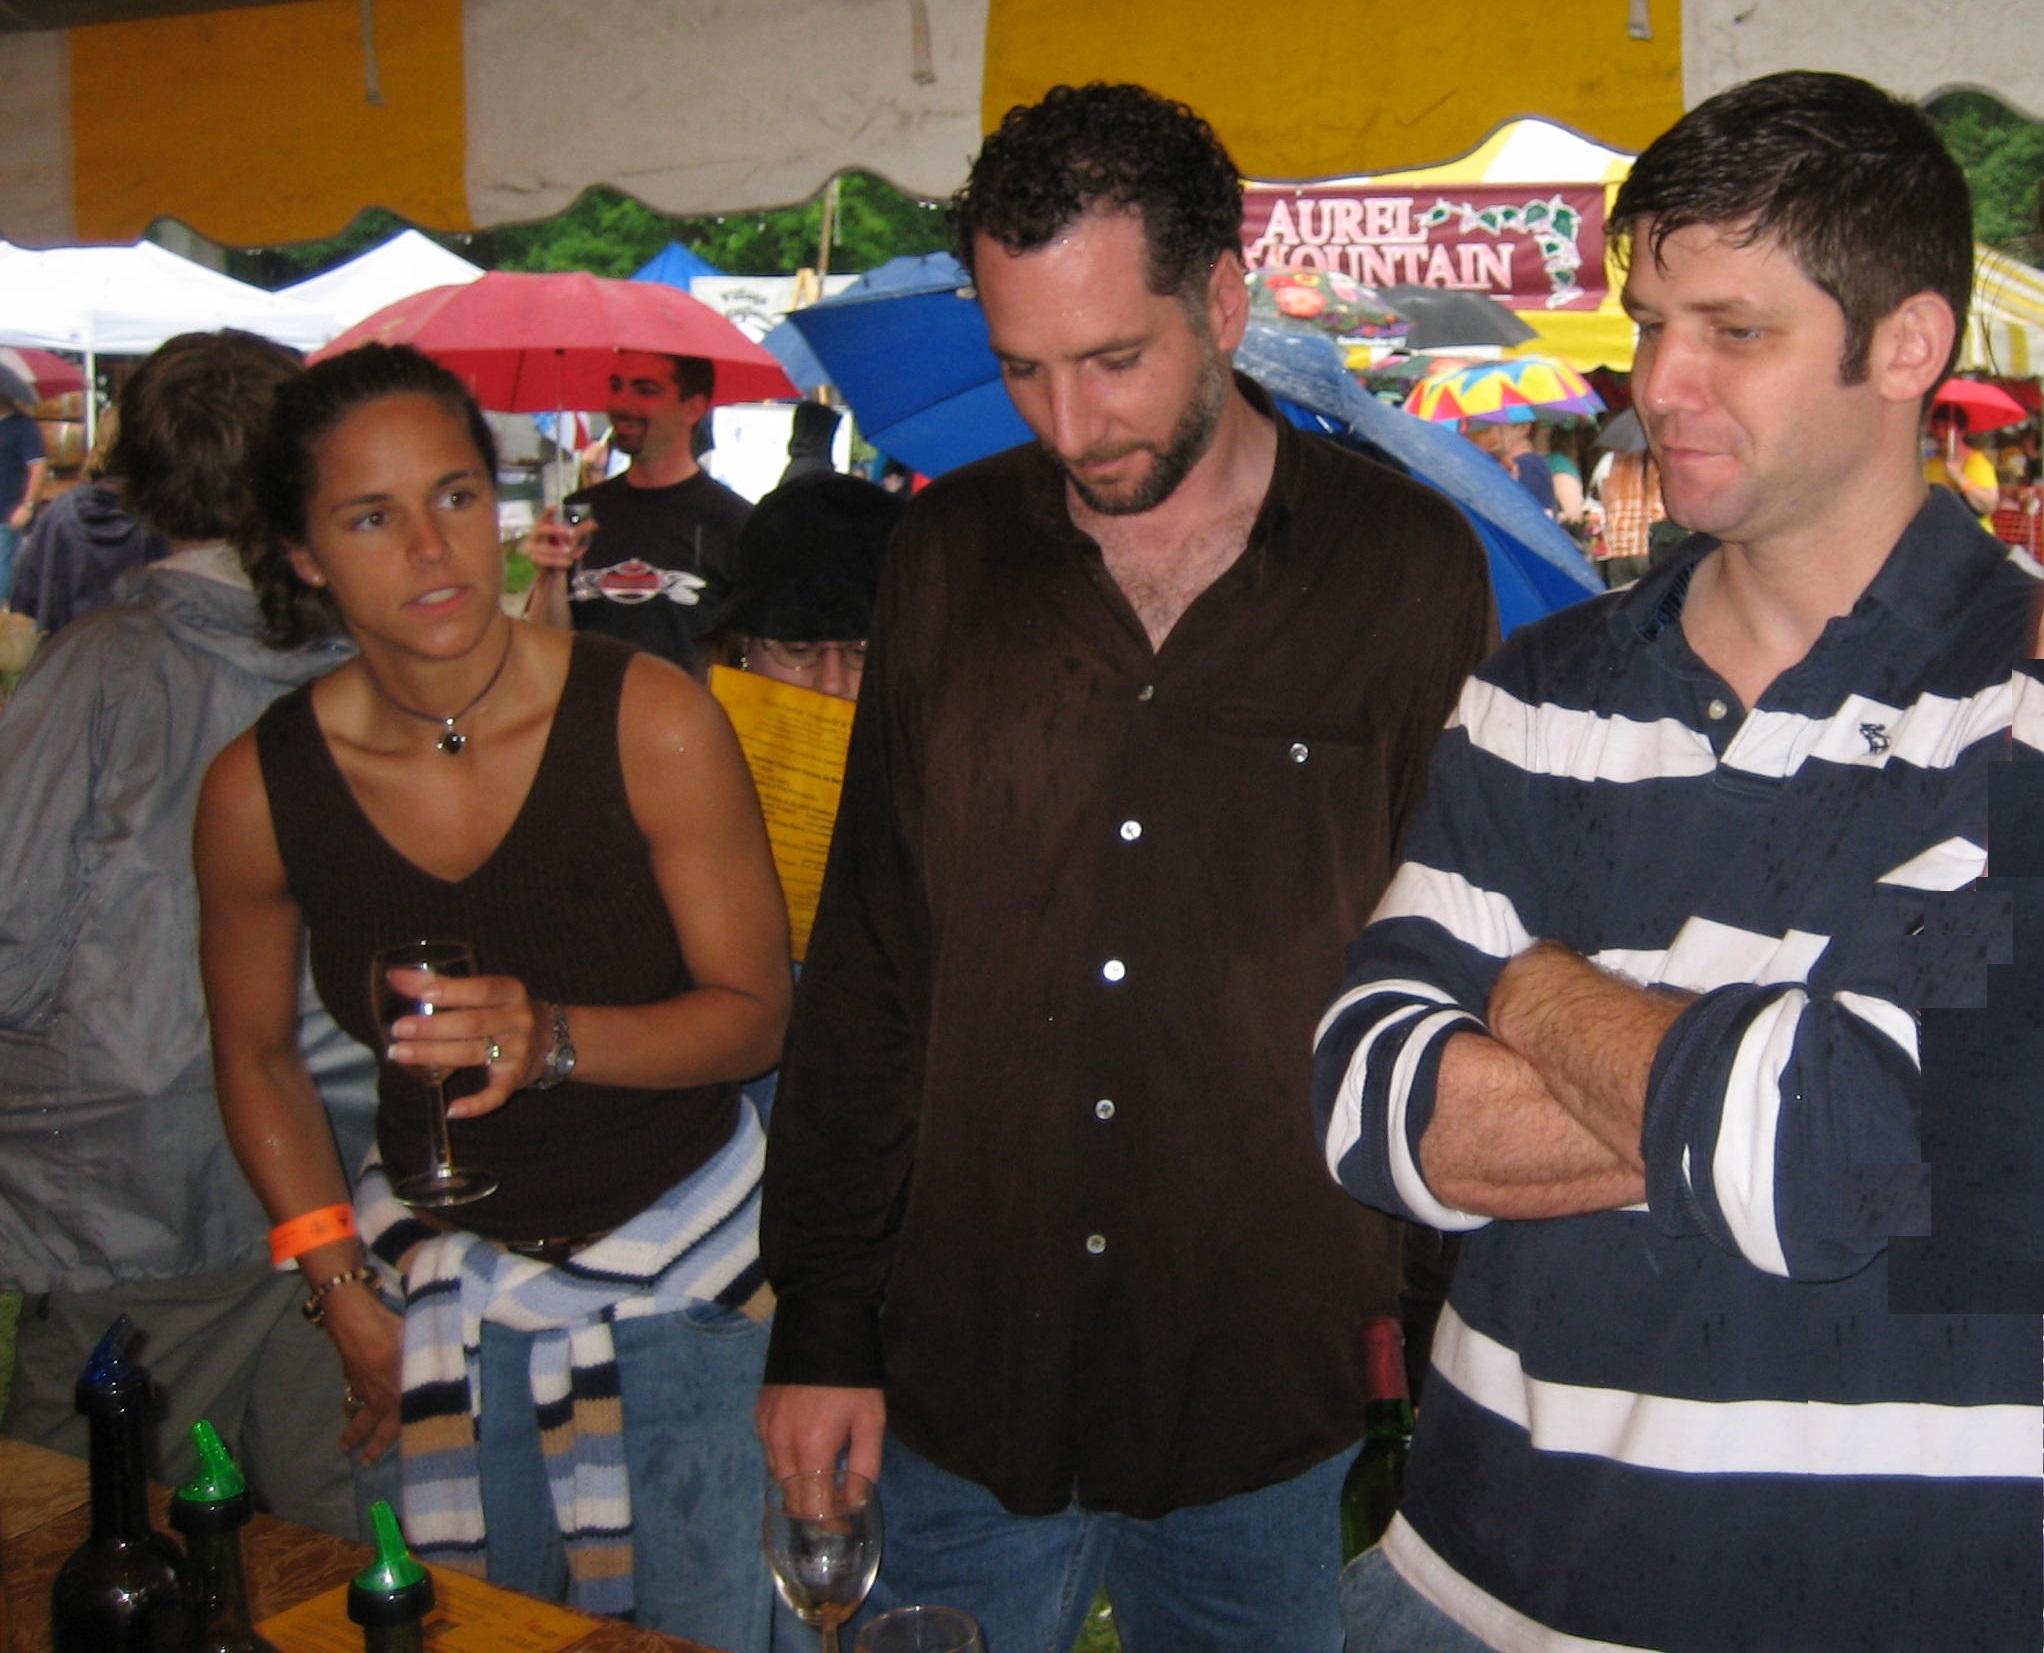
Melissa Penserio, Mike (author) and Jon Casselberry
How to determine your alcohol content:
There are multiple uses for taking readings of your must. First, you can use a reading taken prior to pitching your yeast to calculate the potential alcohol that will be achieved through the fermentation. This calculation generally assumes an ending reading of SG 1.000 :
Original Reading- SG 1.090
For SG reading subtract 1 and multiply by 125
1.090 – 1 = 0.90 x 125 = 11.25% potential alcohol
You can also use virtually the same calculation to find the actual fermented alcohol percentage by taking the difference between the original reading (prior to pitching yeast) and the final reading (after fermentation is complete). For example, if your original reading is SG 1.090, and your final reading is SG 0.990:
SG 1.090 – 0.990 = 0.1 x 125 = 12.5% alcohol
A hydrometer can also be used to check that fermentation has completed. To do this, you will take a reading two days apart and compare the results. If there is any change in the results, then your fermentation was still active during this period. If the reading remains stagnant, then fermentation is completed and you may move to “racking” your vino.
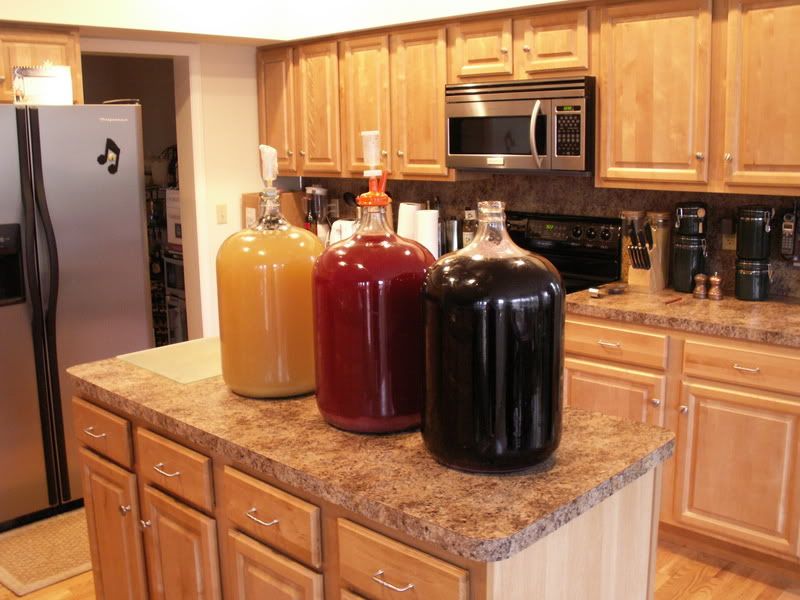
Red, White and Blush!
Hydrometer Tables and Charts (Advanced Wine Making tools)
| Specific Gravity S.G. | Brix | Potential Alcohol By Volume (%) | Pounds and Ounces of Sugar in One U.S. Gallon of Water lbs. ozs. |
|---|---|---|---|
| 1.000 1.005 1.010 1.015 1.020 1.025 1.030 1.035 1.040 1.045 1.050 1.055 1.060 1.065 1.070 1.075 1.080 1.085 1.090 1.095 1.100 1.105 1.110 1.115 1.120 |
0.00 1.28 2.56 3.82 5.08 6.32 7.55 8.77 9.98 11.18 12.37 13.55 14.72 15.88 17.03 18.18 19.31 20.43 21.54 22.65 23.75 24.83 25.91 26.98 28.05 |
0 0.5 0.9 1.6 2.3 3.0 3.7 4.4 5.1 5.8 6.5 7.2 7.8 8.6 9.2 9.9 10.6 11.3 12.0 12.7 13.4 14.1 14.9 15.6 16.3 |
0 − 0 0 − 2 0 − 4 0 − 6 0 − 8 0 − 9 0 − 11 0 − 13 0 − 15 1 − 0 1 − 2 1 − 4 1 − 6 1 − 7 1 − 9 1 − 10 1 − 12 1 − 14 2 − 0 2 − 2 2 − 4 2 − 5 2 − 7 2 − 9 2 − 11 |
Hydrometer Temperature Corrections
The data below was obtained using the “Handbook of Chemistry and Physics (CRC)”, and is valid for a temperature range between 0 and 212F.
Temp (C)  Temp (F)  Density  Correction relative to 59F
-------   --------  -------  --------------------------
0          32      0.99987      -0.74
3.98       39.16   1.00000      -0.87
5          41      0.99999      -0.86
10         50      0.99973      -0.6
15         59      0.99913      0
18         64.4    0.99862      0.51
20         68      0.99823      0.9
25         77      0.99707      2.06
30         86      0.99567      3.46
35         95      0.99406      5.07
38         100.4   0.99299      6.14
40         104     0.99224      6.89
45         113     0.99025      8.88
50         122     0.98807      11.06
55         131     0.98573      13.4
60         140     0.98324      15.89
65         149     0.98059      18.54
70         158     0.97781      21.32
75         167     0.97489      24.24
80         176     0.97183      27.3
85         185     0.96865      30.48
90         194     0.96534      33.79
95         203     0.96192      37.21
100        212     0.95838      40.75
![]()


Great reeading your post
LikeLike
Thank you Gerald!
LikeLike